Overview
The MK16-185 is a Step Sequencer device based on Max for Live working with Ableton Live. It produces adjusted or randomly created sequences of MIDI-notes which trigger an instrument to generate unlimited different melodies.Download the Device on maxforlive.com

What is a Sequencer?
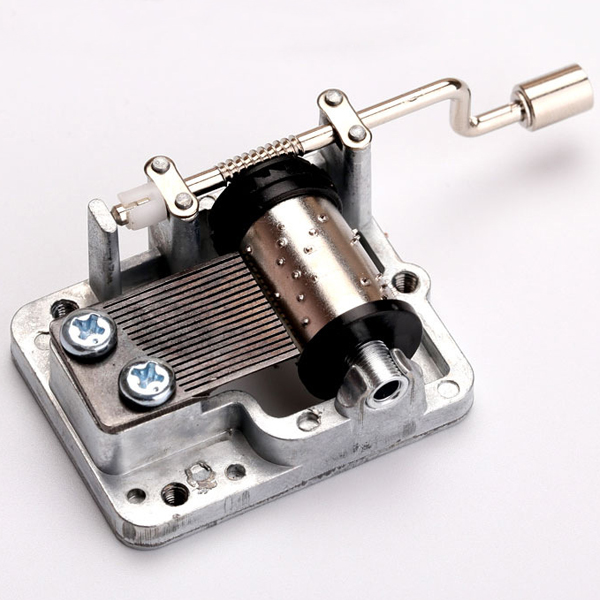
A music sequencer is a device or application software that can record, edit, or play back music, by handling note and performance information in several forms, typically MIDI or CV/Gate, and possibly audio and automation data for DAWs and plug-ins.In the 19th century, as the results of Industrial Revolution, various automatic musical instruments were invented, for examples: music box, barrel organ and barrel piano using barrel/cylinder with pins or metal disc with punched holes; or mechanical organ, player piano and orchestrion using music rolls with punched holes.These instruments were widely spread as the popular entertainment devices before the inventions of phonograph, radio, and sound film.(Wikipedia)

Case Study
This is a small synopsis how the MK16-185 Sequencer was made and what approaches have been found to work out the idea. This is not meant to be a full case study. Apart from that you really could write a book about it. It's an attempt to provide an insight.
In the Beginning there was…
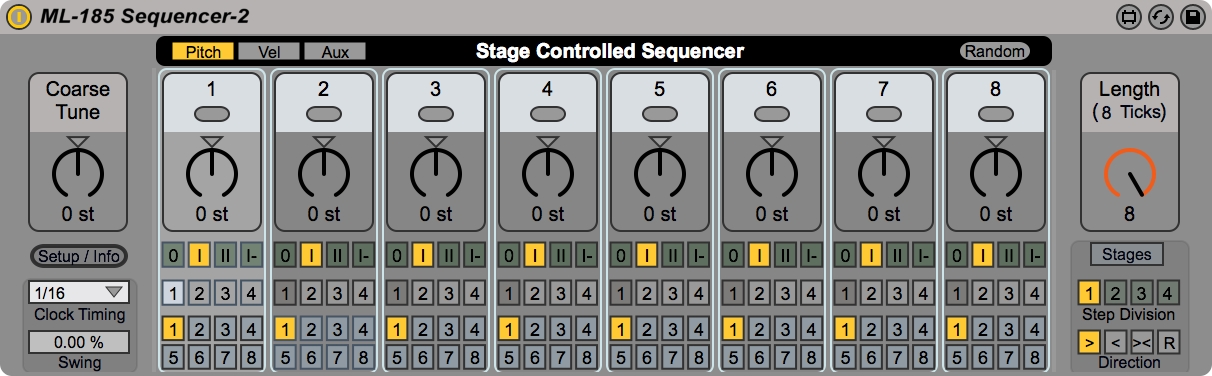
…a Step Sequencer, who had 8 editable stages. It was a great tool to generate short melodies in no time. But after some time, it was no longer enough to have 8 stages. And the people told: "Why can't you have at least 16 Stages?".So the Sequencer decided to grow up. After some time it became 16 Stages long, educated itself in features like an improved random section, got a new UI dresscode and name: the MK16-185 Sequencer. Everybody was satisfied and everything went its way.After a while the Sequencer thought that it is not enough to rest on its laurels. It thought, it would have to work on itself to improve its earned features. That is the beginning of this story…

A. The Task
Since the first version, I learned a lot about using Cycling 74's Max and how to generally build patcher devices for Ableton Live. It is time to bring it to the next level.The really first task is to improve the user interface and review which possibilities we have to achieve that.
B. Design Research
There are tons of different styles and ways in designing user interfaces for digital software instruments and effects. If you cut it down, tools integrated into DAW's fitting the brand guidelines with little customization to their use. External plug-ins can be everything.

In our case it occurs both: Max for Live patches are exclusively to work inside Ableton Live. There are predefined UI elements to provide a seamless integration. On the other hand, for example, you have freedom in choosing the layout and colors.So, we have to make it fit into Live's GUI, while having the ability to make it unique.

The definetly greatest impact to suit our device is to adapt the non-3D, flattened and simplified look. Will do!

Do we have other interesting elements we can apply? Hm, maybe on the Ableton Push Controller. I think I like these old-school LED's.
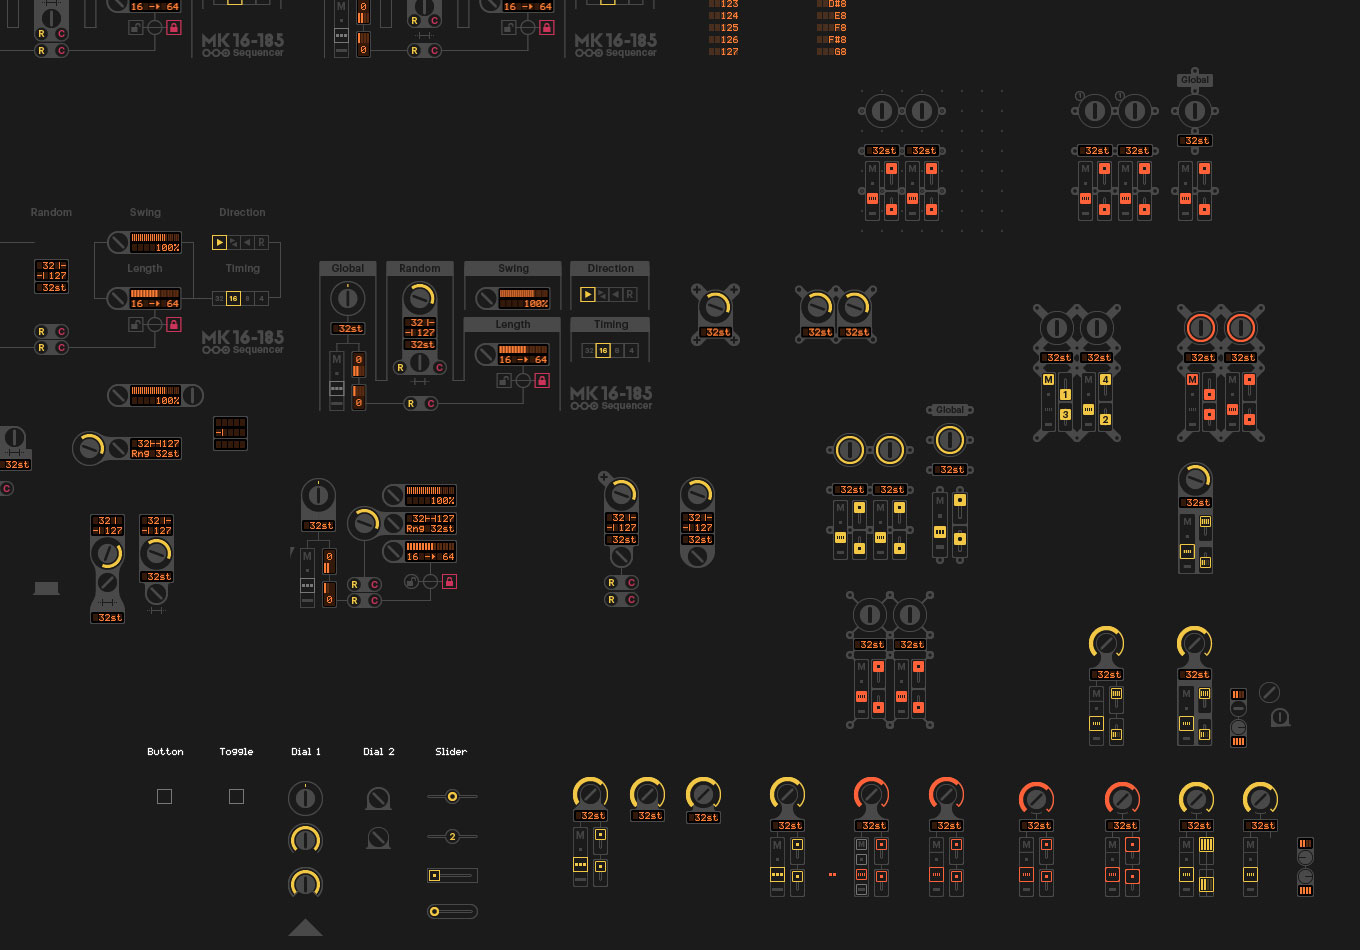
C. User Interface — The Idea
We now have some specifications on the look and feel — something "LivePush" and the Max app — wiring knobs, sliders, mathematical formulas and commands together to a prototype.

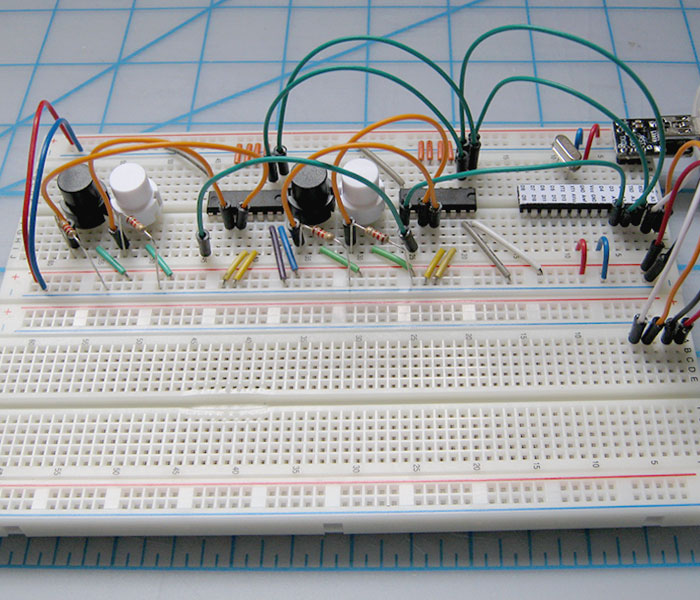
How can we make this more fun to use? Overall that reminds me of my school days tinkering on those breadboards, wiring cicuits with diodes and a battery.Let's create a LivePush device with an appearance of a breadboard with modular, sticked in elements all wired together.
D. Design Exploration
The devil is in the details. You can go really crazy by creating design elements. It is always a journey letting your creativity flow, to try everything out. There are many beginnings to elaborate and the hole thing can develop a life of its own. If you are on a tight schedule, it is time make decisions.
E. Design Decisions
Let's get back to the idea and recap: We need simple modules to stick into the breadboard wire them just to give the impression. We make a selection.

F. Layout
In re-inventing the layout and order, there isn't much to be done. We just gonna arrange a few settings to different locations and group them with the new features.1. On the left we put all the settings to initiate the device — like the main settings.2. The middle section is the part where you can adjust the sequence by tweaking the MIDI-notes.3. The last area is the global section where you can refine the sequence.

Conclusion
We now gather our results taking account of the layout. It simply works and even if it has a very technical look it gots its emotional aspects.
Okay, there is one last little feature: we overlay the device with a clean cover and some descriptions.
